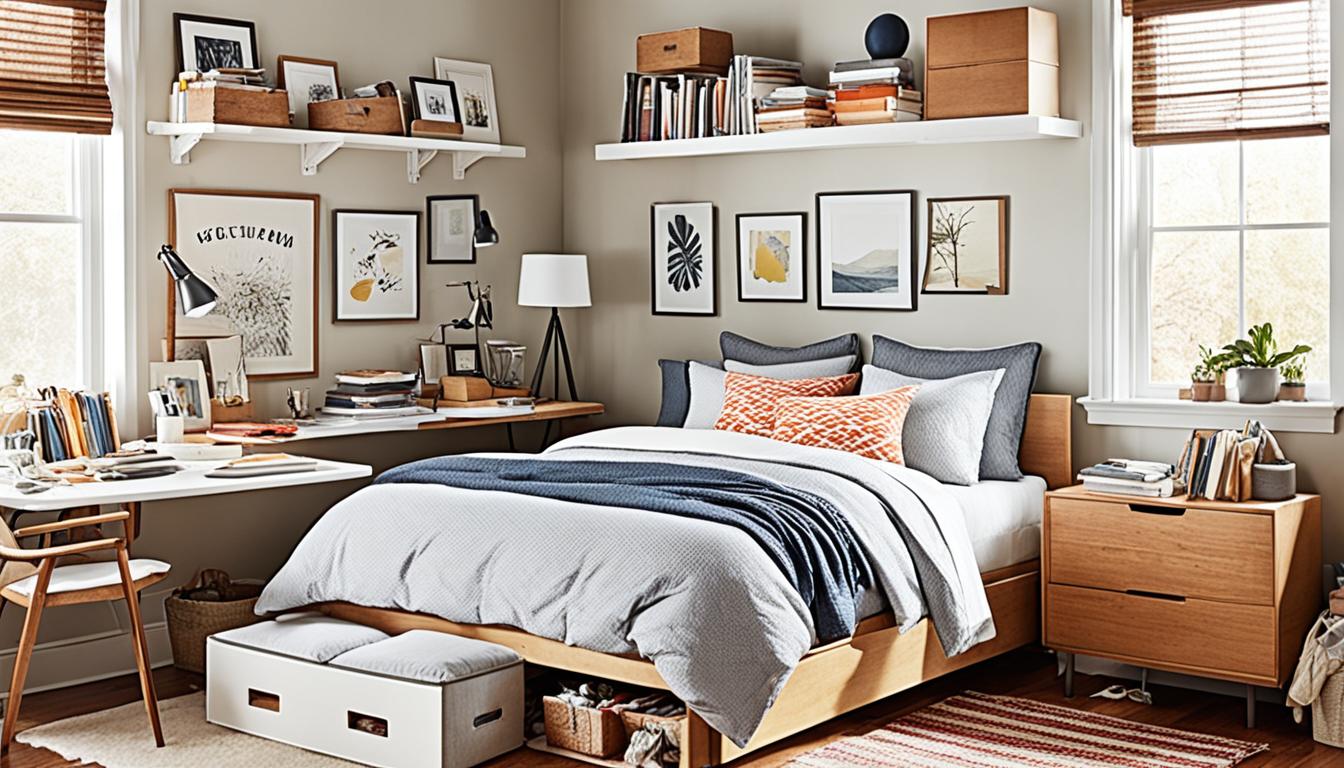
DIY home renovations have become increasingly popular, especially among beginners looking to transform their homes on a budget. These projects allow homeowners to take control of their space and make cost-effective improvements. Whether you’re looking for simple upgrades or complete remodeling ideas, there are plenty of DIY home renovation tips that can help beginners achieve a stunning makeover without breaking the bank.
In this article, we will explore a range of budget-friendly projects that you can tackle yourself. From replacing cabinet pulls to repairing torn window screens, fixing interior doors, painting a room, balancing furnace dampers, and refreshing caulking in the bathroom, these tips will give you the inspiration and guidance you need to get started on your home improvement projects.
Let’s dive in and discover how you can transform your home with these budget-friendly DIY renovation ideas.
Replace Cabinet Pulls
Looking to give your kitchen a quick and affordable facelift? Consider replacing the cabinet pulls or knobs. This simple DIY project can make a significant impact on the overall aesthetic of your kitchen. With just a few basic tasks, such as unscrewing the old pulls and attaching the new ones, you can achieve a fresh and updated look.
Replacing cabinet pulls is a beginner-friendly project that requires minimal tools and skills. It’s an excellent opportunity for DIY enthusiasts to start building their toolkit. One essential tool to consider investing in is a cordless drill, which will come in handy for various projects around the house.

Check out the image below to see how a new set of cabinet pulls can transform the look of your kitchen:
By replacing cabinet pulls, you can instantly give your kitchen a mini-facelift without breaking the bank. It’s a simple and affordable way to update the overall style and feel of your kitchen space.
Repair a Torn Window Screen
Window screens play a crucial role in keeping insects out while allowing fresh air to circulate in your home. However, over time, they can become damaged from accidents or regular wear and tear. Repairing or replacing a torn window screen is a beginner-friendly DIY project that not only improves the appearance of your windows but also helps prevent pests from entering your living space.
When tackling window screen repair, it’s important to gather the necessary tools and materials:
- Replacement screen material
- Spline
- Spline roller
- Utility knife or scissors
- Screwdriver
- Measuring tape
Here’s a step-by-step guide to help you repair your torn window screen:
- Begin by carefully removing the damaged screen from the window frame. Use a screwdriver to loosen any screws or clips holding the screen in place.
- Once the screen is detached, lay it flat on a clean surface. Measure the dimensions of the torn area and ensure that your replacement screen material is slightly larger.
- Cut the new screen material to the appropriate size, ensuring a tight fit within the window frame.
- Align one edge of the screen material with the frame and use a spline roller to press the spline into the groove, securing the screen material in place.
- Continue working around the frame, using the spline roller to push the spline into the groove and attaching the screen material.
- Once the entire screen is attached, trim any excess material using a utility knife or scissors.
- Finally, reinstall the repaired screen back into the window frame, securing it with screws or clips.
By successfully repairing a torn window screen, you not only save money on professional repairs but also gain valuable knowledge about window maintenance. Regularly inspect your window screens for damage and address any issues promptly to ensure optimal insect prevention and ventilation.

| Benefits of Window Screen Repair | Tips for Maintenance |
|---|---|
|
|
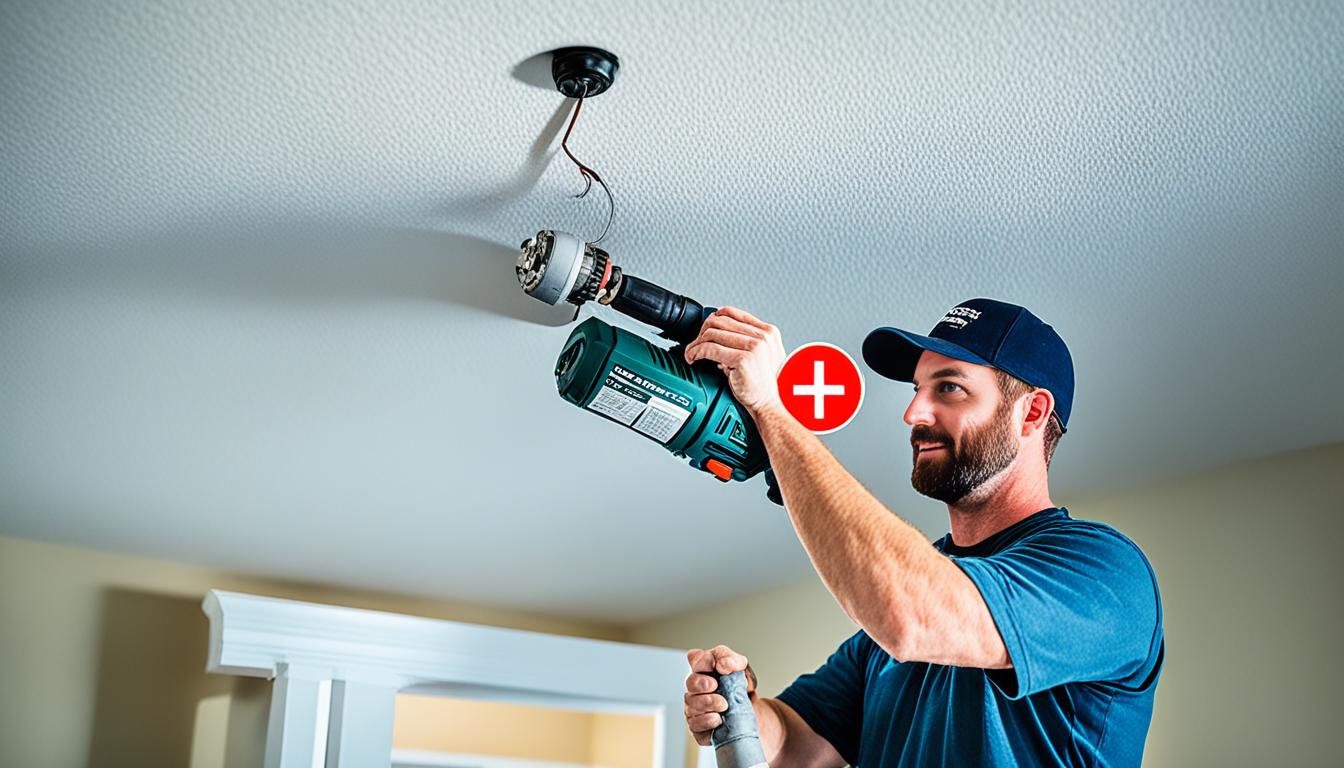
Fix Interior Doors
Over time, interior doors can stick or fail to latch properly. Fixing these issues is a great starter project that allows beginners to learn carpentry skills. From planing a door to adjusting a strike plate, you’ll gain hands-on experience and improve the functionality of your doors. Investing in a quality plane is recommended for this project.

Common Door Problems
- Sticking: Doors that stick can be frustrating and are often caused by changes in humidity or improper installation. Sanding or planing the door can help it operate smoothly.
- Door Won’t Latch: If a door won’t latch properly, it may be due to misaligned strike plates or a sagging door. Adjusting the strike plate or tightening loose hinges can solve the problem.
Tools for Door Repair
Before you begin repairing your interior doors, it’s essential to have the right tools on hand. Here are some must-have tools for door repair:
- Quality Plane: A plane is a tool used to trim small amounts of material from the edge of a door. It helps in removing excess wood and making the door fit properly.
- Screwdriver Set: A screwdriver set is necessary for removing and tightening screws. It’s essential to have various sizes and types of screwdrivers to match the screws used on your doors.
- Chisel Set: Chisels are needed for removing excess wood or adjusting the strike plate. Having a set of chisels with different sizes will give you more flexibility in your repairs.
- Tape Measure: Accurate measurements are crucial when making door adjustments. A tape measure will help you ensure that the doors are aligned correctly.
With these tools and a step-by-step guide, you can tackle door repair projects with confidence and improve the overall functionality and appearance of your interior doors.
Paint a Room
Painting a room is one of the fastest and most affordable ways to give your space an immediate change. Whether you’re touching up a drywall patch or refreshing a guest room, painting is a DIY skill that every beginner should learn.
To ensure a smooth process, it’s important to invest in the right painting equipment. The essential painting equipment includes:
- A roller and pan: Choose a roller size that suits your needs and a pan to hold the paint.
- A trim brush: Use a high-quality trim brush to paint the edges and corners with precision.
- Painter’s tape: This tape helps create clean lines and protects areas you don’t want to paint.
- Dropsheet or plastic cover: Cover furniture and floor surfaces to protect them from paint splatters.
- Clean-up tools: Keep some rags, sponges, and a bucket of soapy water handy for cleaning up any spills or drips.
Before you start painting, make sure to properly prepare the room by clearing away furniture, filling any holes or cracks, and cleaning the surfaces to be painted. Apply primer if necessary and then start painting from the top down, beginning with the ceiling, followed by the walls, and finishing with the trim. Take breaks as needed and allow each coat to dry thoroughly before applying the next.
Remember, painting a room requires patience and attention to detail. Take your time and enjoy the process of transforming your space with a fresh coat of paint.

| Benefits of Painting a Room | Tips for a Successful Paint Job |
|---|---|
| 1. Instantly refreshes the look and feel of a room. | 1. Properly prepare the room by cleaning and priming the surfaces. |
| 2. Allows you to personalize your space with color. | 2. Use high-quality paint and tools for a professional finish. |
| 3. Covers up imperfections on walls. | 3. Take breaks and allow each coat to dry thoroughly. |
| 4. Increases the value of your home. | 4. Protect furniture and floors with drop cloths or plastic covers. |
| 5. Provides a quick makeover without a major renovation. | 5. Clean up any spills or drips immediately to avoid permanent stains. |
Balance Furnace Dampers
Balancing furnace dampers is a great DIY project that can improve energy efficiency and increase your HVAC knowledge. This project is particularly beneficial for homeowners with two-story houses or in climates with large temperature swings.
By correctly balancing the dampers, you can direct the airflow from your furnace to the specific areas of your home that need it the most. This ensures optimal heating and cooling and reduces energy wastage.
To balance furnace dampers, you’ll need a ladder and a headlamp, as some dampers may be located in hard-to-reach places. Ensure your HVAC system is turned off before beginning the balancing process.
Here is a step-by-step guide to help you balance your furnace dampers:
- Locate the dampers throughout your home. These are typically found in the ductwork or in the individual rooms.
- Open all dampers to their full capacity.
- Start by closing the dampers in the rooms that are already at the desired temperature.
- Gradually close the dampers in rooms that require less heating or cooling.
- Keep the dampers fully open in rooms that need more heating or cooling.
- Check the temperature distribution throughout your home to ensure it’s balanced.
Remember that balancing furnace dampers is an ongoing process since your heating and cooling needs may change with the seasons. Regularly check and adjust the dampers to maintain optimal energy efficiency.
By taking on this DIY project, you not only save on energy costs but also gain valuable HVAC knowledge that can help you troubleshoot any future heating or cooling issues.
| Benefits of Balancing Furnace Dampers | Considerations |
|---|---|
|
|
Refresh Caulking in the Bathroom
Are you looking to freshen up the appearance of your bathroom? A simple DIY project that can make a significant difference is refreshing the caulk in your shower or bathtub. Not only does it improve the overall look of your bathroom, but it also helps prevent water damage. This beginner-friendly project allows you to practice the skill of properly laying a bead of caulk.
To get started, invest in a high-quality caulk gun with a smooth action and no-drip stop. This will ensure precise application and make the process much smoother. By using a caulk gun, you can achieve clean lines and avoid messy caulk smears. It’s an essential tool for any home repair arsenal.
Regular maintenance of the caulk in your bathroom is crucial. Over time, caulk can deteriorate and become discolored, which not only looks unappealing but also allows water to seep in. By replacing the old caulk with fresh, clean caulk, you can maintain the cleanliness and integrity of your bathroom. Remember to remove any old caulk before applying the new one to ensure proper adhesion.
FAQ
What are some top DIY home renovation tips for beginners?
DIY home renovations have become increasingly popular among beginners looking to transform their homes on a budget. Here are some budget-friendly projects that you can tackle yourself:
How can I give my kitchen a mini-facelift on a budget?
Replacing cabinet pulls or knobs is a quick and easy way to give your kitchen a new look. This project is suitable for beginners and requires simple tasks such as unscrewing the old pulls and attaching the new ones. It’s a great opportunity to purchase a cordless drill, which is an essential tool in any DIY toolkit.
How can I repair a torn window screen?
Repairing or replacing a torn window screen is a beginner-friendly DIY project that can improve the appearance of your windows and keep insects out of your home. By learning how to remove and install screens, you’ll also gain knowledge on window mechanics and maintenance.
How can I fix interior doors that stick or fail to latch properly?
Fixing these issues is a great starter project that allows beginners to learn carpentry skills. From planing a door to adjusting a strike plate, you’ll gain hands-on experience and improve the functionality of your doors. Investing in a quality plane is recommended for this project.
What is a quick and affordable way to give a room a fresh look?
Painting a room is one of the fastest and most affordable ways to give your space an immediate change. Whether you’re touching up a drywall patch or refreshing a guest room, painting is a DIY skill that every beginner should learn. Consider investing in painting equipment such as a roller and pan, trim brush, and clean-up tools to make the process smooth.
How can I balance furnace dampers in my home?
Balancing furnace dampers is a great DIY project for homeowners with two-story houses or climates with large temperature swings. By correctly balancing the dampers, you can direct your furnace’s output to the areas of your home that need it the most. This project not only improves energy efficiency but also helps you gain knowledge about your furnace’s functionality. A ladder and headlamp may be necessary for this project.
How can I refresh the caulk in my bathroom?
Refreshing the caulk in your bathroom is a beginner-friendly DIY project that can freshen up the appearance of your shower or bathtub. Properly laying a bead of caulk is an acquired skill, and this project gives you the opportunity to practice it. Investing in a caulk gun with a smooth action and no-drip stop is recommended for this project. Regular caulk maintenance can keep your bathroom looking clean and prevent water damage.